


Modern websites don’t always reload after a form is submitted. Instead, they use AJAX LISTENER (Asynchronous JavaScript and XML) to send data in the background. While this improves user experience, it creates a challenge for tracking—because Google Tag Manager’s default form triggers often fail.
If you’ve ever struggled with tracking forms that don’t redirect to a thank-you page, this guide is exactly what you need.
What Is AJAX and Why It Breaks Tracking?
AJAX allows forms to submit data without refreshing the page.
Problem:
GTM’s built-in Form Submission Trigger relies on page reload or standard form behavior.
Result:
- No trigger fires
- No conversion is recorded
- You lose valuable data
Solution: AJAX Listener in GTM
An AJAX listener captures background network requests and pushes them into the dataLayer, allowing GTM to track them as events.
Step-by-Step Setup
1. Add AJAX Listener Code (Advanced jQuery Listener)
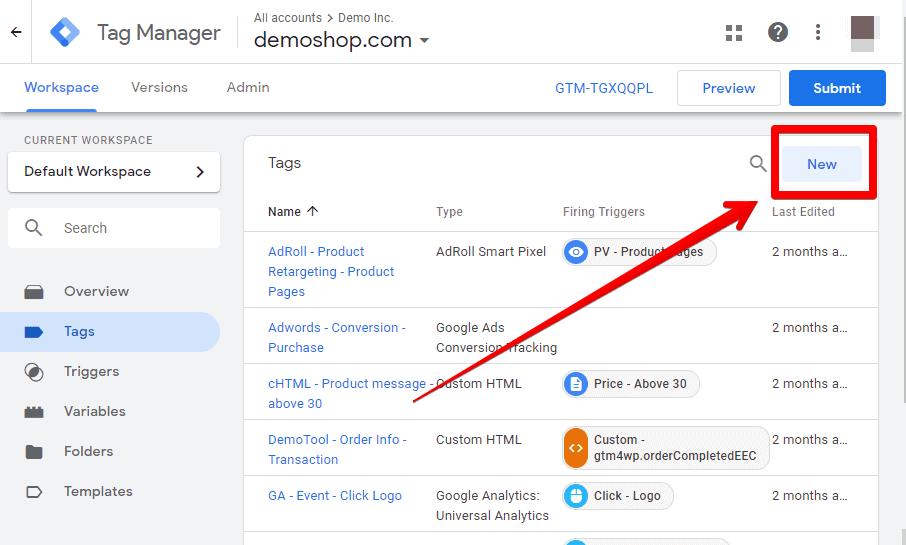
Go to Google Tag Manager → Tags → New → Custom HTML
Paste this full AJAX listener code:
(function() {

    'use strict';
    var $;
    var n = 0;
    init();

    function init(n) {

        if (typeof jQuery !== 'undefined') {
            $ = jQuery;
            bindToAjax();
        } else if (n < 20) {
            n++;
            setTimeout(init, 500);
        }

    }

    function bindToAjax() {

        $(document).bind('ajaxComplete', function(evt, jqXhr, opts) {

            var fullUrl = document.createElement('a');
            fullUrl.href = opts.url;

            var pathname = fullUrl.pathname[0] === '/' ? fullUrl.pathname : '/' + fullUrl.pathname;
            var queryString = fullUrl.search[0] === '?' ? fullUrl.search.slice(1) : fullUrl.search;

            var queryParameters = objMap(queryString, '&', '=', true);
            var headers = objMap(jqXhr.getAllResponseHeaders(), '\\n', ':');

            dataLayer.push({
                'event': 'ajaxComplete',
                'attributes': {
                    'type': opts.type || '',
                    'url': fullUrl.href || '',
                    'queryParameters': queryParameters,
                    'pathname': pathname || '',
                    'hostname': fullUrl.hostname || '',
                    'protocol': fullUrl.protocol || '',
                    'fragment': fullUrl.hash || '',
                    'statusCode': jqXhr.status || '',
                    'statusText': jqXhr.statusText || '',
                    'headers': headers,
                    'timestamp': evt.timeStamp || '',
                    'contentType': opts.contentType || '',
                    'response': (jqXhr.responseJSON || jqXhr.responseXML || jqXhr.responseText || '')
                }
            });

        });

    }

    function objMap(data, delim, spl, decode) {

        var obj = {};
        if (!data || !delim || !spl) return {};

        var arr = data.split(delim);

        if (arr) {
            for (var i = 0; i < arr.length; i++) {
                var item = decode ? decodeURIComponent(arr[i]) : arr[i];
                var pair = item.split(spl);

                var key = trim_(pair[0]);
                var value = trim_(pair[1]);

                if (key && value) {
                    obj[key] = value;
                }
            }
        }

        return obj;
    }

    function trim_(str) {
        if (str) {
            return str.replace(/^[\\s\\uFEFF\\xA0]+|[\\s\\uFEFF\\xA0]+$/g, '');
        }
    }

})();
2. Add Trigger to Fire Listener
Trigger Type: All Pages
This ensures the listener is active across your entire website.
3. Create Data Layer Variables (Important Step)
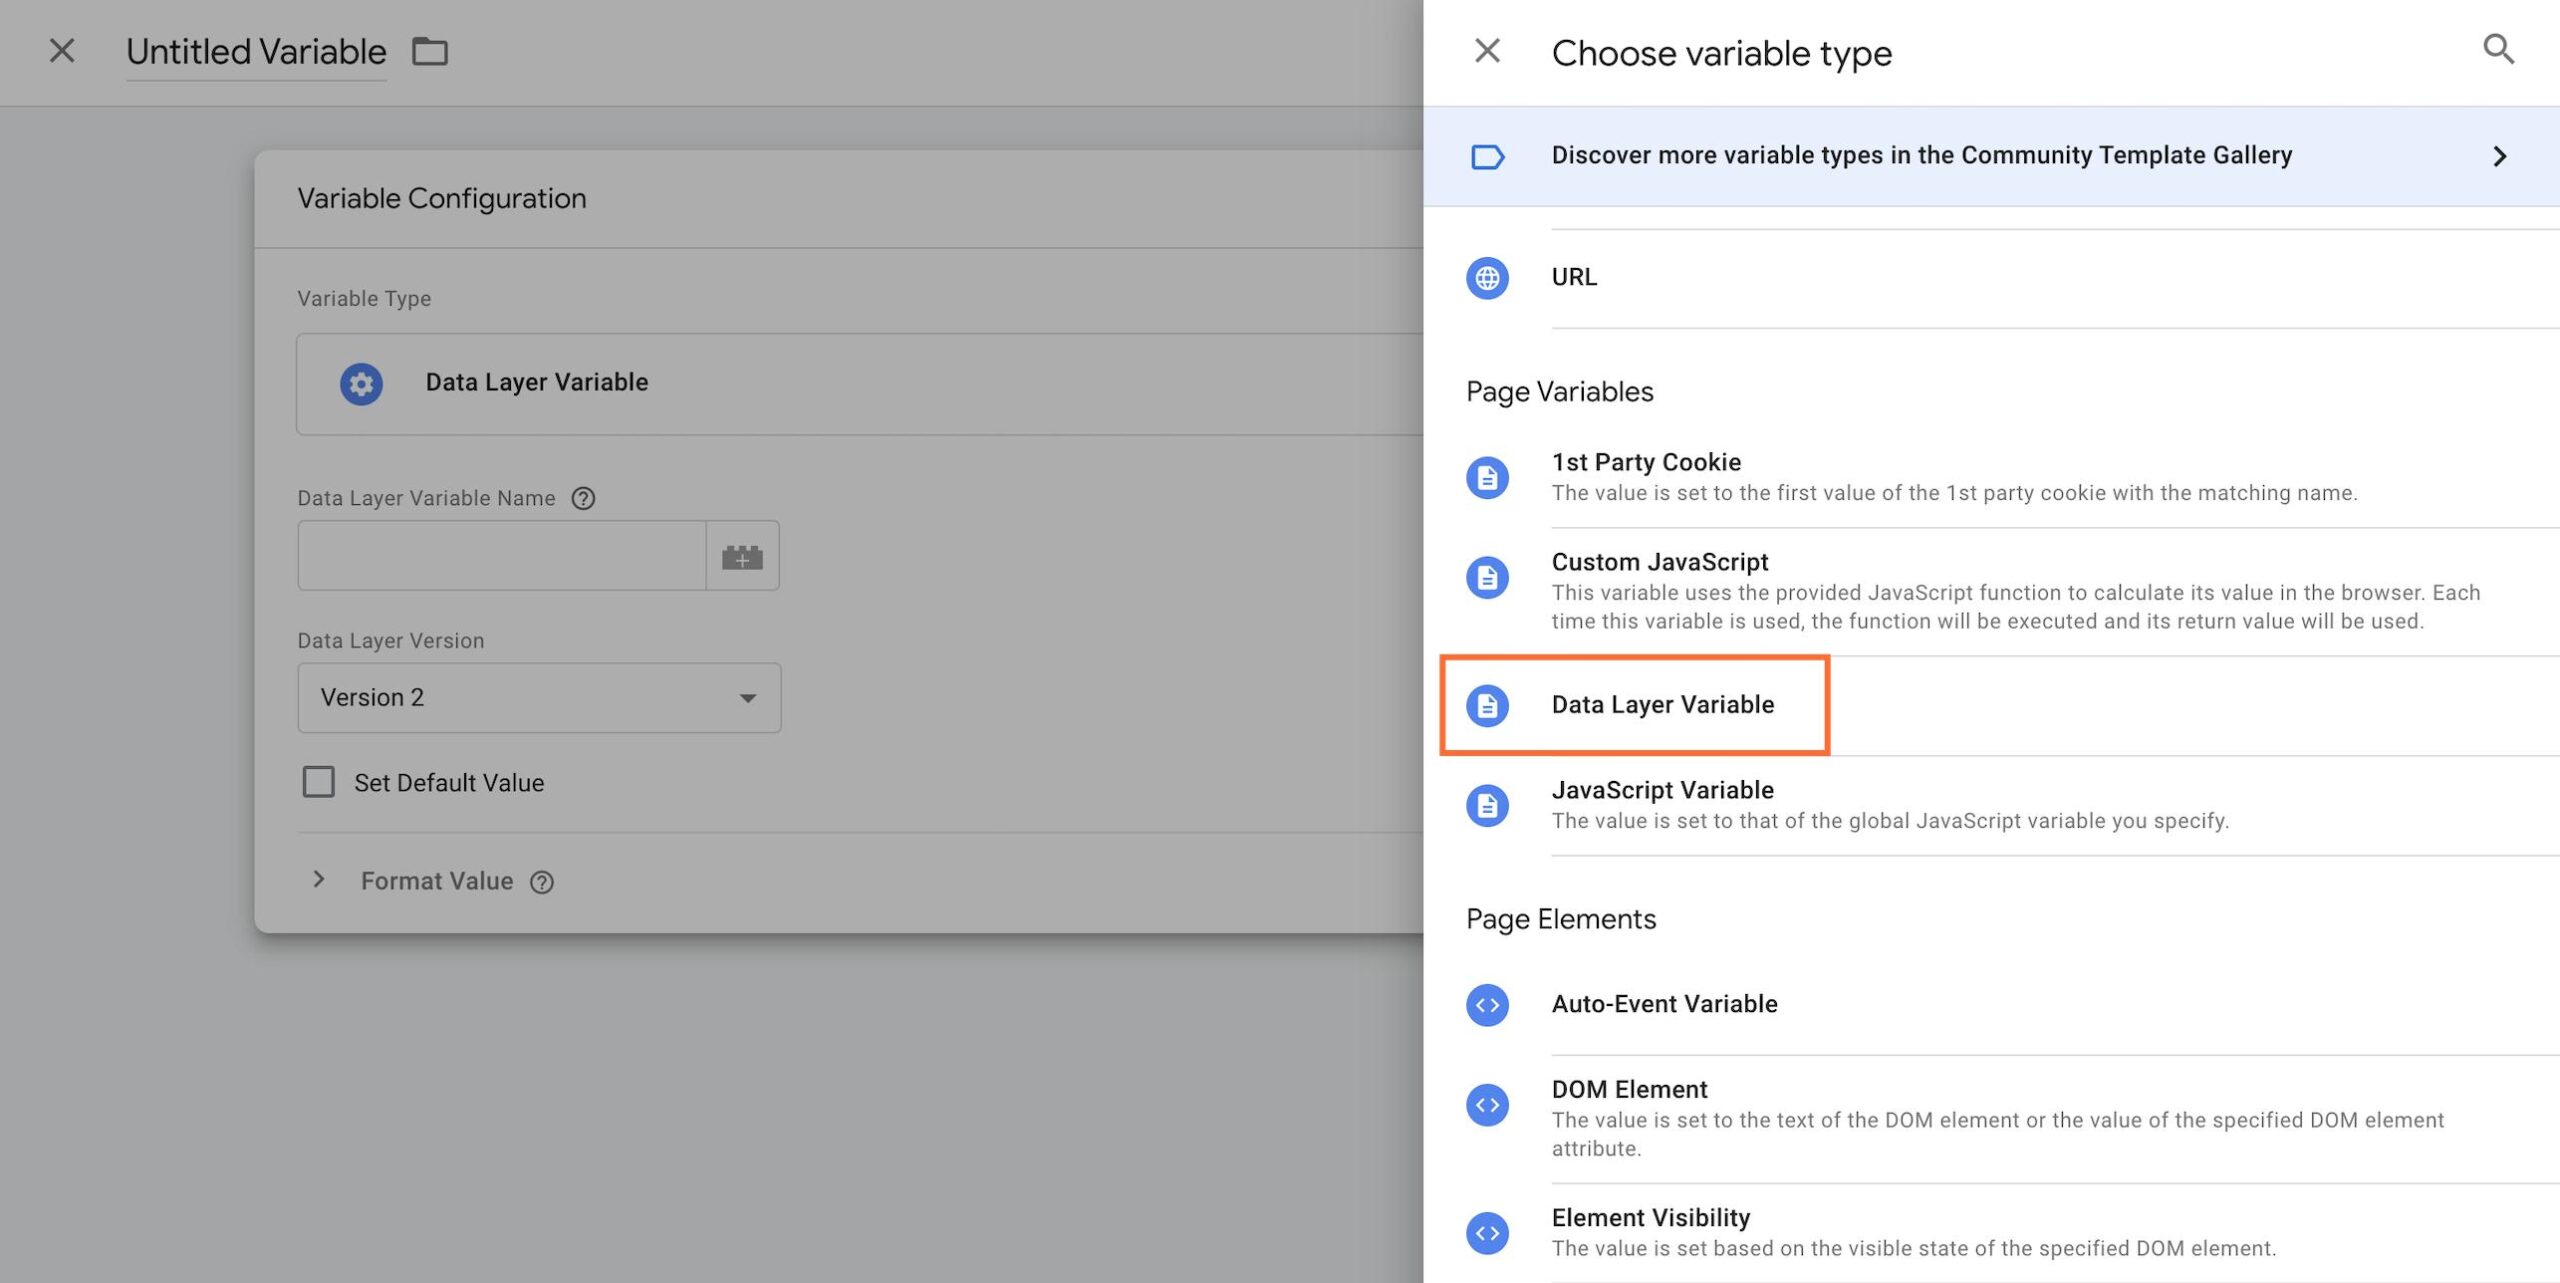
Go to Variables → New → Data Layer Variable
Create:
- Variable Name: ajaxURL
Data Layer Variable Name: attributes.url - Variable Name: ajaxStatus
Data Layer Variable Name: attributes.statusCode
Advanced (Recommended) – Confirmation Variable
Since this listener stores response inside attributes.response, you can extract deeper insights.
If your form response contains confirmation like:
{
"data": {
"confirmation": "success"
}
}
Then create:
- Variable Name: confirmationStatus
- Data Layer Variable Name: attributes.response.data.confirmation
Why This Setup Is Powerful
- attributes.statusCode = 200 → Request success
- confirmationStatus = success → Actual form success
This avoids false tracking.
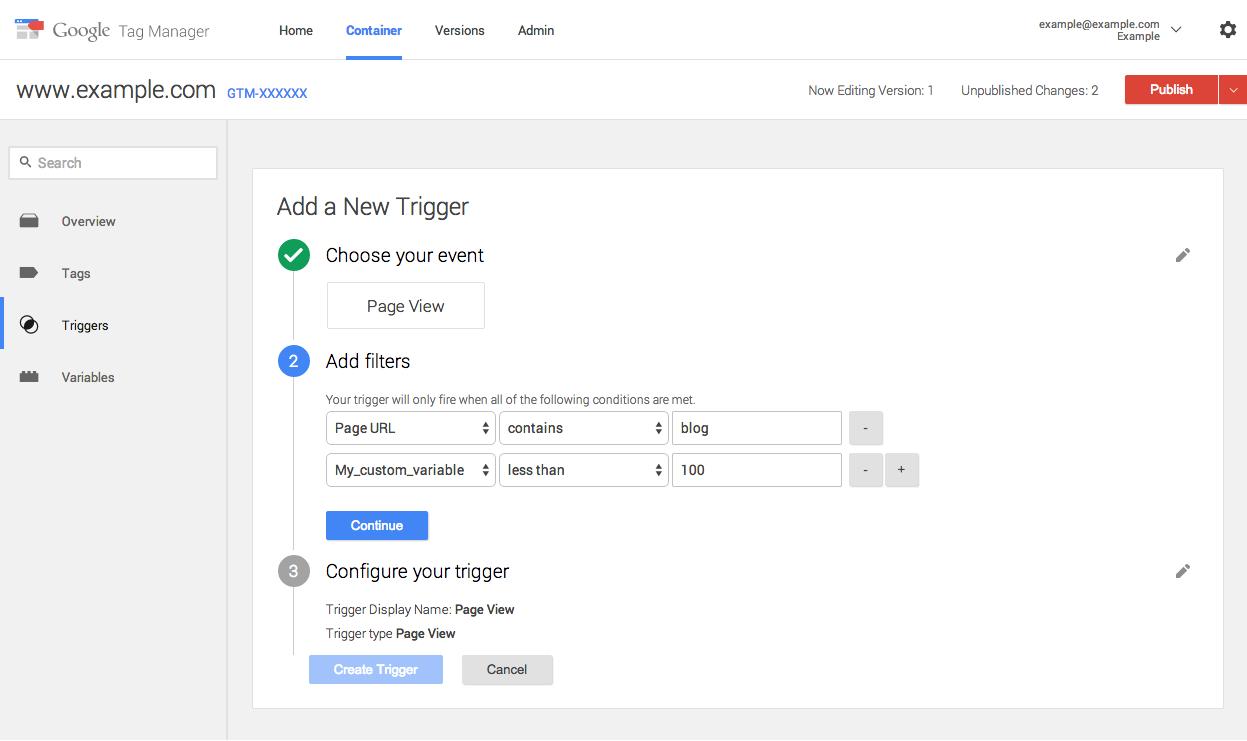
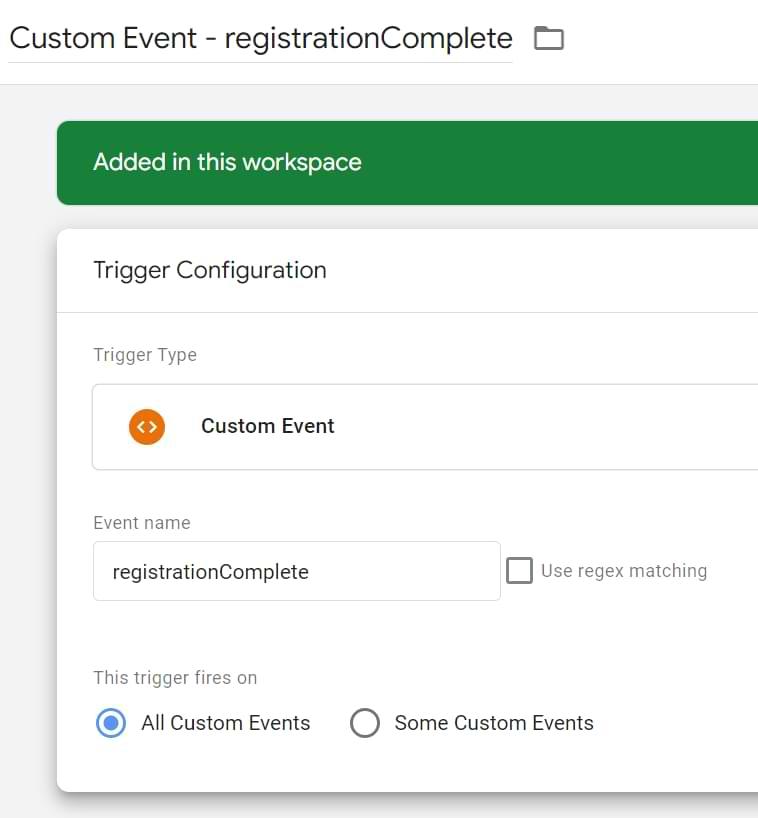
4. Create Custom Event Trigger
Go to Triggers → New
- Trigger Type: Custom Event
- Event Name: ajaxComplete
Add conditions:
- ajaxURL contains contact
- AND
- confirmationStatus equals success
5. Create GA4 Event Tag
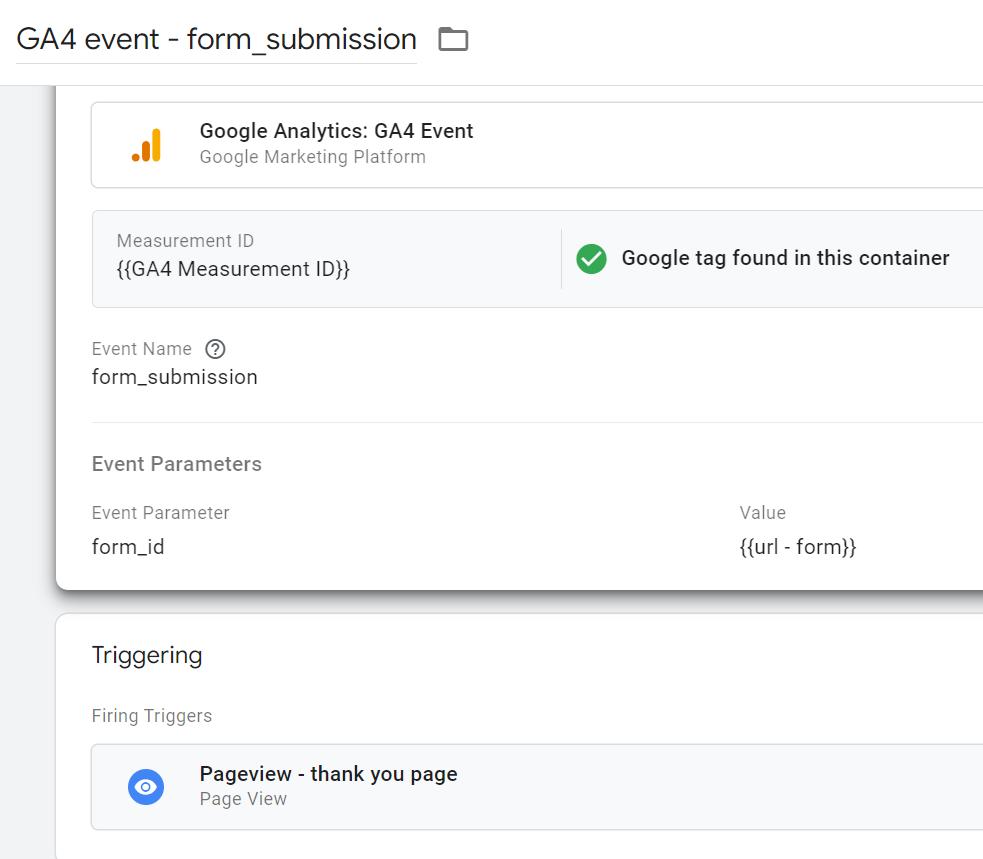
- Tag Type: GA4 Event
- Event Name: form_submit_ajax
Add parameters:
- form_url → {{ajaxURL}}
- status → {{ajaxStatus}}
- confirmation → {{confirmationStatus}}
Attach your trigger.
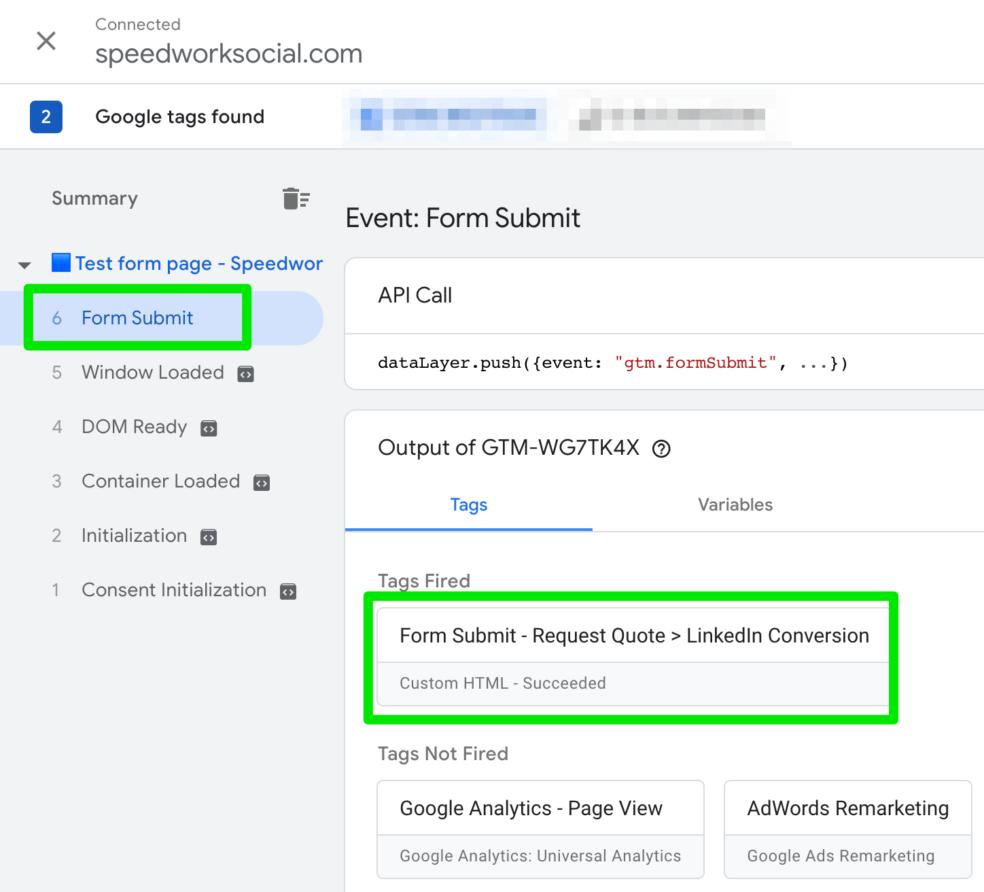
6. Test Using Preview Mode
- Open GTM Preview
- Submit form
Check:
- ajaxComplete event fires
- Tag triggers correctly
7. Publish Your Container
Once confirmed:
Click Submit → Publish
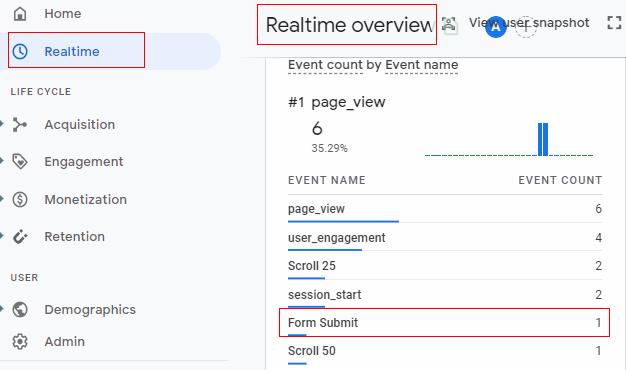
How to Confirm in Google Analytics (GA4)
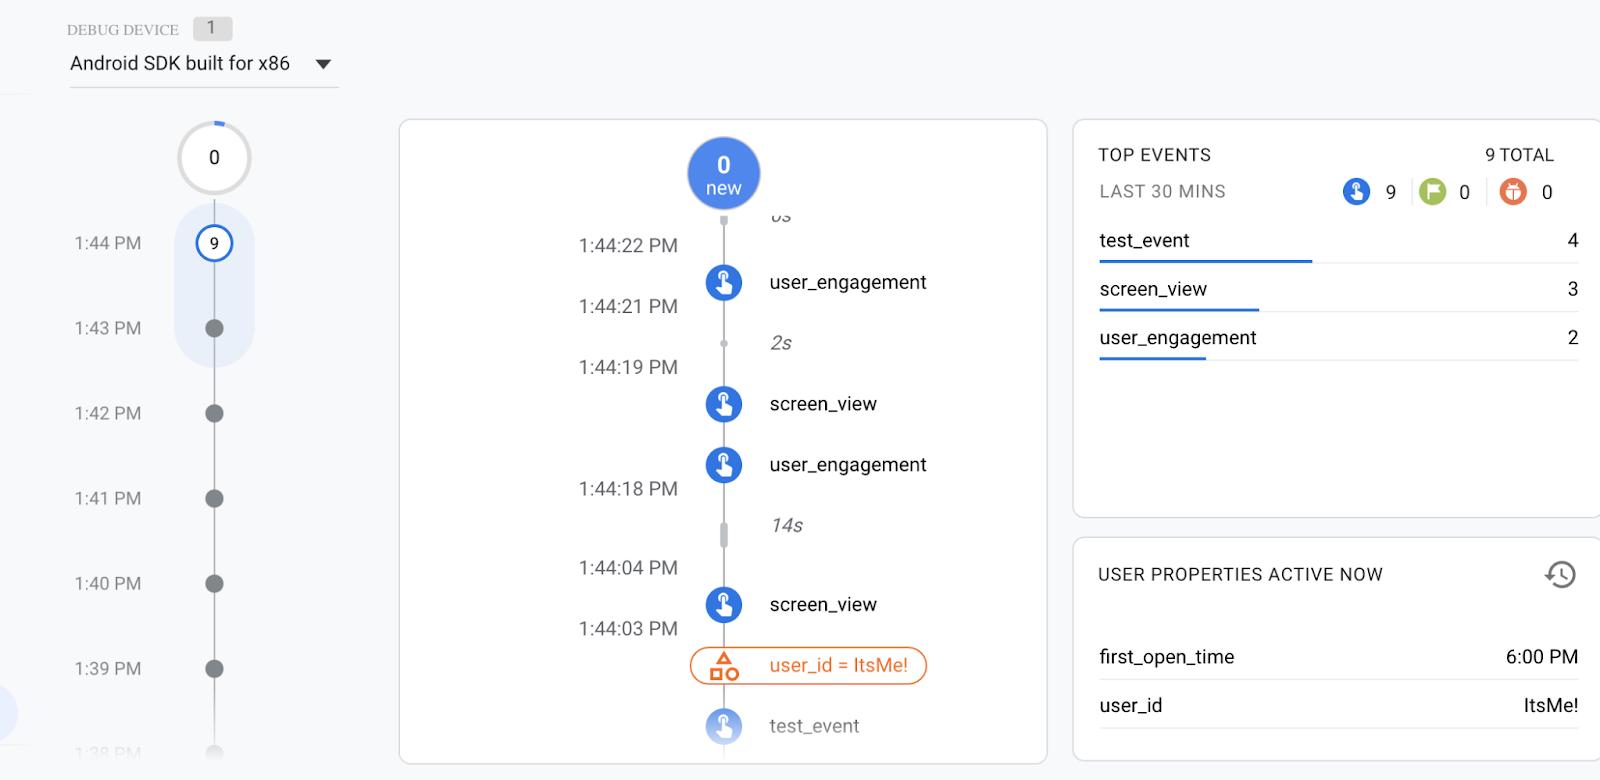
Once your setup is complete, it’s important to verify that everything is working correctly.
Go to your GA4 property:
- Open Debug view
- Submit your form again on your website
- Look for the event:
form_submit_ajax
If you can see the event in real-time, your tracking is working perfectly.
You can also mark this event as a conversion inside GA4 to start measuring performance in your reports.
Pro Tip: Best Practice (Developer Method)
AJAX listeners are powerful—but not always perfect.
The most reliable and clean method is to push a custom event directly when the form is successfully submitted:
window.dataLayer.push({
 event: 'formSubmissionSuccess'
});
Then in GTM:
- Create a Custom Event Trigger →
formSubmissionSuccess - Fire your GA4 event tag
This method is:
- 100% accurate
- Cleaner
- Recommended for long-term tracking
Final Thoughts
Tracking form submissions via AJAX is no longer optional—it’s essential.
If you’re not tracking properly, you’re not just missing data…
you’re making decisions blindly.
With the setup you’ve learned in this guide, you can now:
- Track real form submissions (not just clicks)
- Eliminate false data and improve accuracy
- Optimize your ad campaigns with confidence
- Make smarter, data-driven marketing decisions
Skyno Digital — Turning Data Into Growth
At Skyno Digital, we believe tracking isn’t just technical—it’s strategic.
Every click, every form submission, every interaction tells a story.
And when you track it the right way, that story turns into real business growth.
Because at the end of the day,
the brands that understand their data… are the ones that dominate their market.


